- The Sewing Brew
- Posts
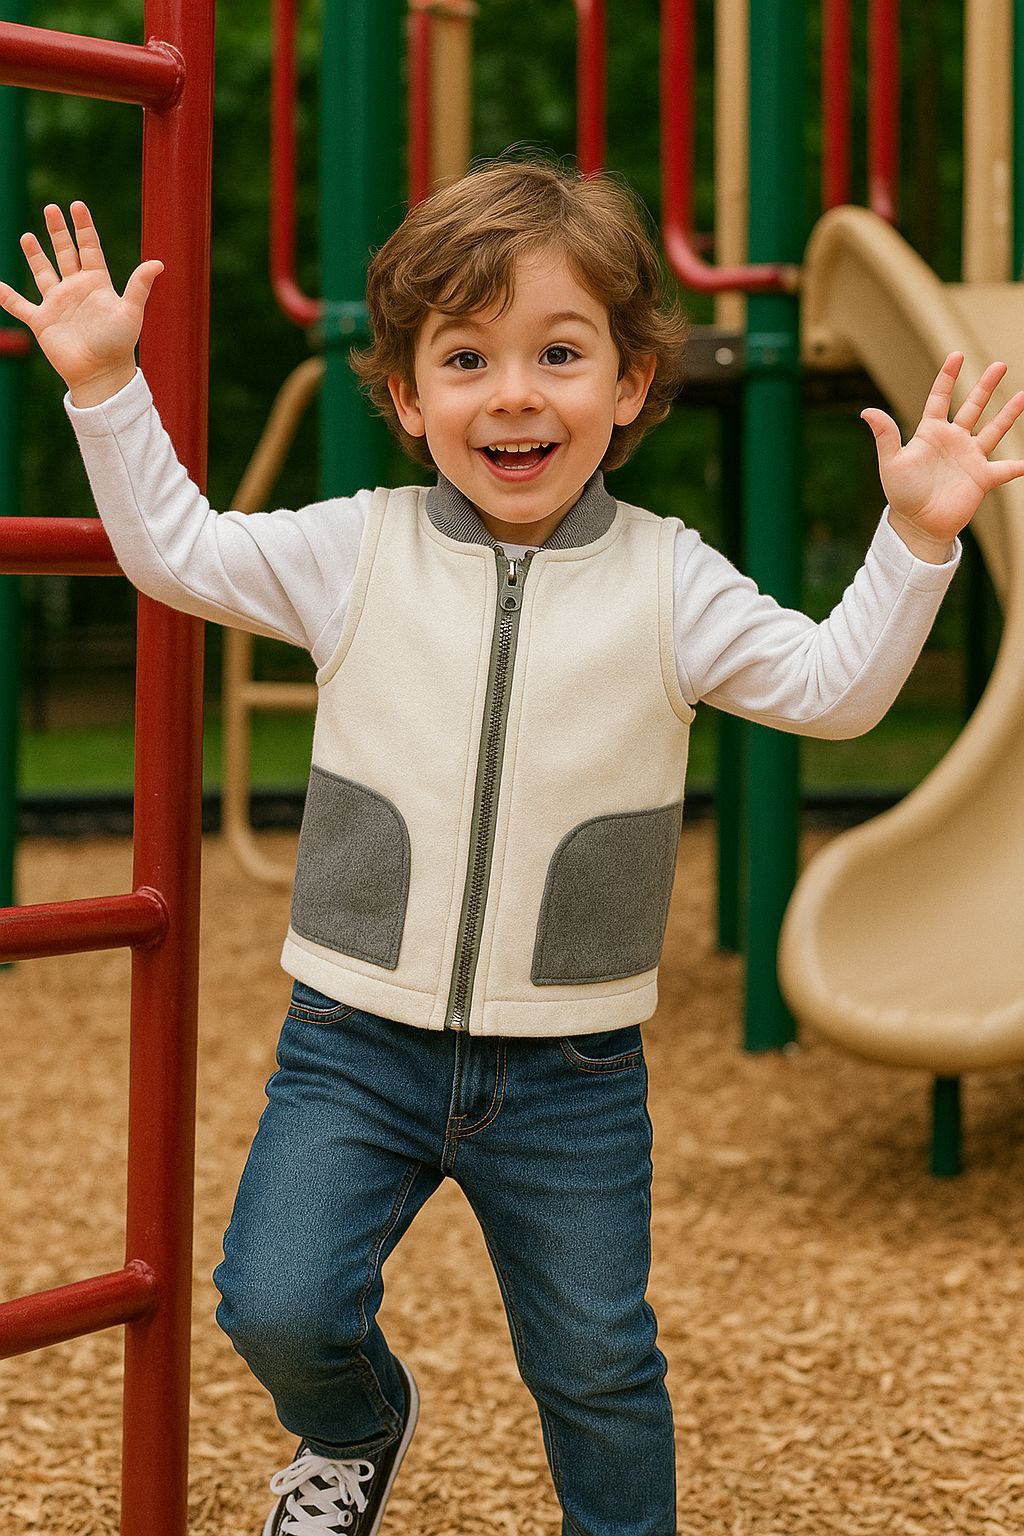
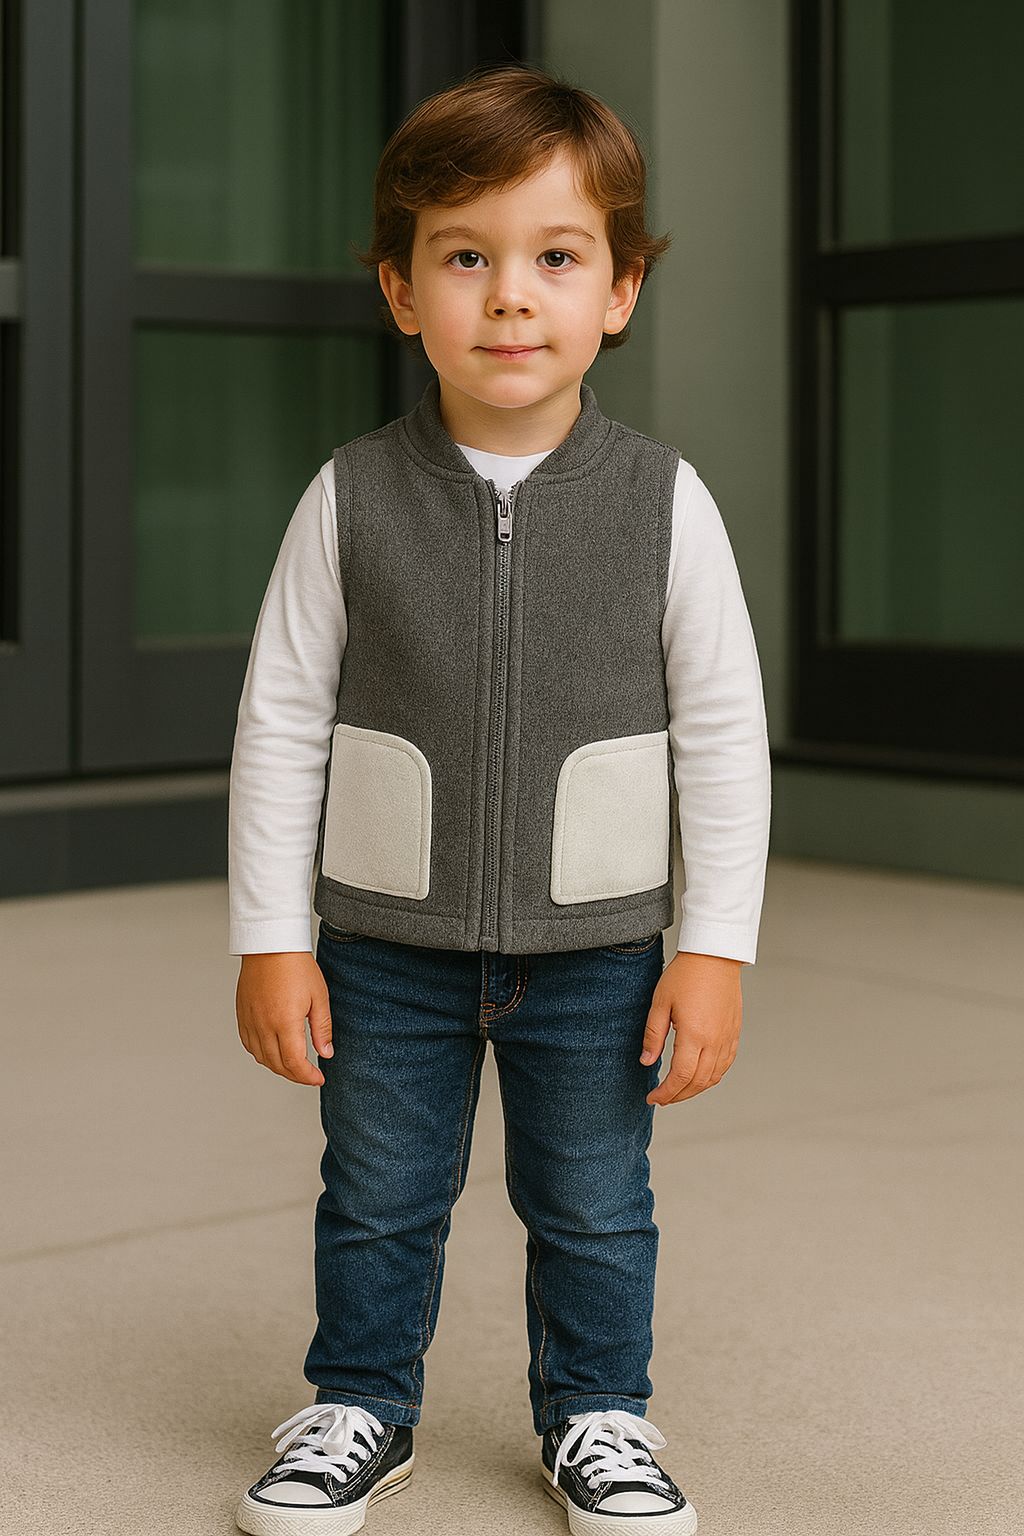
- Designer's Edge Premium 👕Toddler’s Adventure Vest: Built for Play, Styled for Wow
Designer's Edge Premium 👕Toddler’s Adventure Vest: Built for Play, Styled for Wow
From cozy sherpa to rugged denim — one vest, many adventures 🌟
Marjorie Vaudreuil
November 13, 2025

Author and Founder: Marjorie Vaudreuil | Sewing Pattern Secrets | Design Secrets | www.thesewingbrew.com
The Designer’s Edge: Toddler’s Adventure Vest
Most toddler vests on the rack are either thin and useless or stiff and overbuilt like they belong in a hunting catalog. They don’t fit right, they don’t last, and they definitely don’t look like something you’d want in the family photo album.
The Toddler’s Adventure Vest fixes that problem. It’s not just a “layer to keep the chill away.” It’s a unisex, fashion-forward piece designed to give your little explorer a polished look and the practicality they need. This is outerwear built for climbing, running, and mischief — all while looking sharp enough to pass as boutique quality.
💡 SPS Pattern Vault: Why This Pattern Is a Must Sew
What makes this pattern worth the effort? Simple — it delivers where store-bought fails:
✅ Unisex Fit That Flatters – works on boys and girls, no adjustments needed.
✅ Functional Pockets – toddlers love them, parents appreciate them, and they’re not just decoration.
✅ Fully Lined for Durability – which means it holds its shape and survives more than one season.
✅ Room for Fabric Personality – sherpa for cozy weekends, denim for rugged outdoors, suede for picture-day chic.
This pattern doesn’t just give you a vest. It gives you a canvas where fabric, finishing, and styling decisions create completely different vibes — adventure-ready, city-cool, or cozy chic. That’s why it’s a workhorse in disguise.
📏 Pattern Specs at a Glance
Sizes: 2T, 3T & 4T
Skill Level: Advanced (or a rewarding stretch project for intermediates)
Details: Zipper front, collar, bias armhole finish, and optional contrast pockets
Design: Fully lined, structured, durable — and 100% unisex
Please read below for more detailed information about this pattern.
✨ Fabric Picks That Elevate the Look
The right fabric turns the Toddler’s Adventure Vest from a basic layer into a designer-quality staple. Choose based on the look and lifestyle you want:
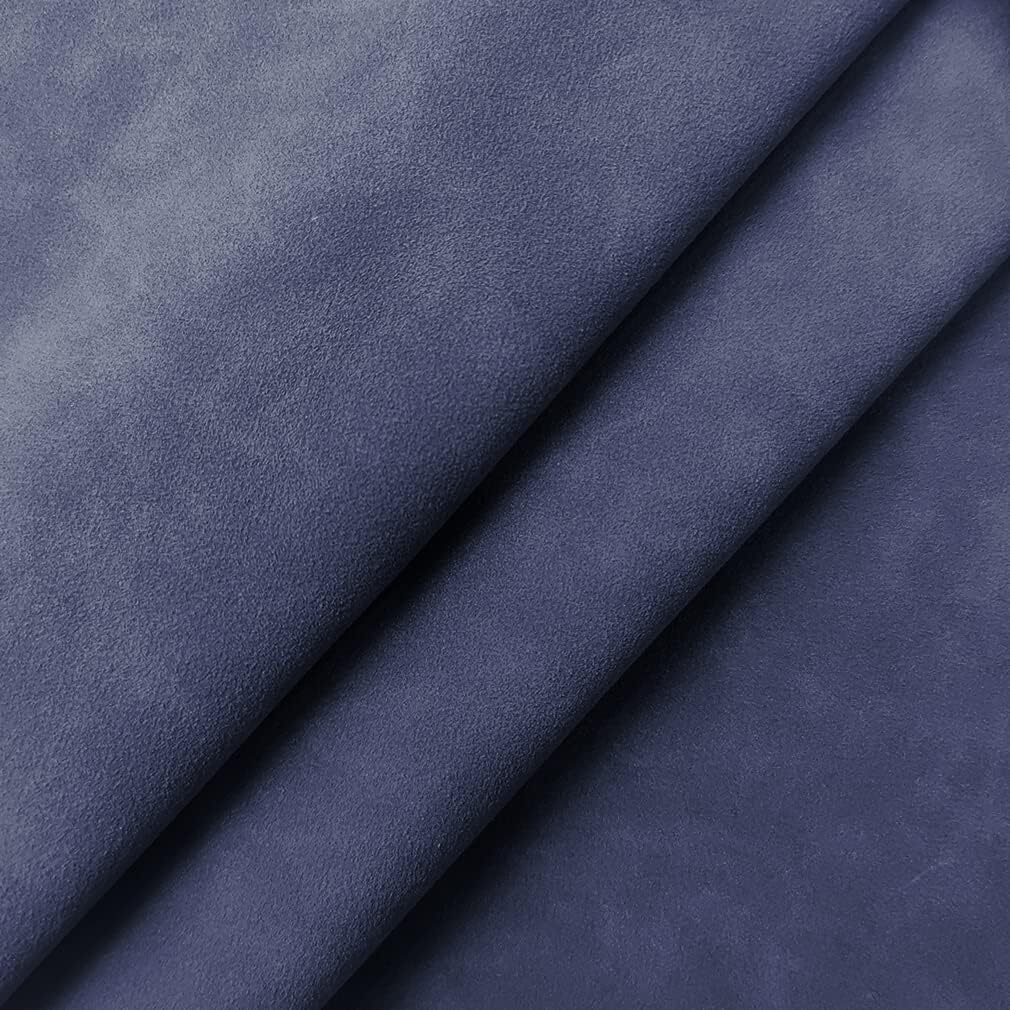
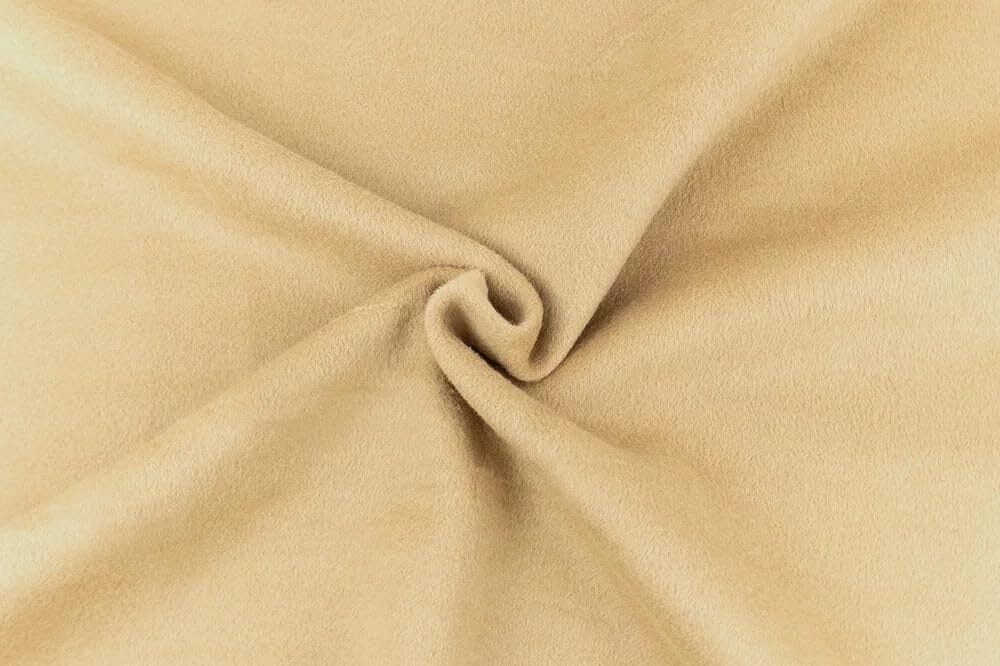
Faux Suede + Fleece Lining → Cozy, luxe, and perfect for fall or winter outings. Think mini chalet chic.
Denim + Twill Contrast → Rugged and durable. The kind of vest that survives playground scrapes and still looks sharp.
Wool Blends → Warmth with polish. Structured enough for family outings, soft enough for comfort.
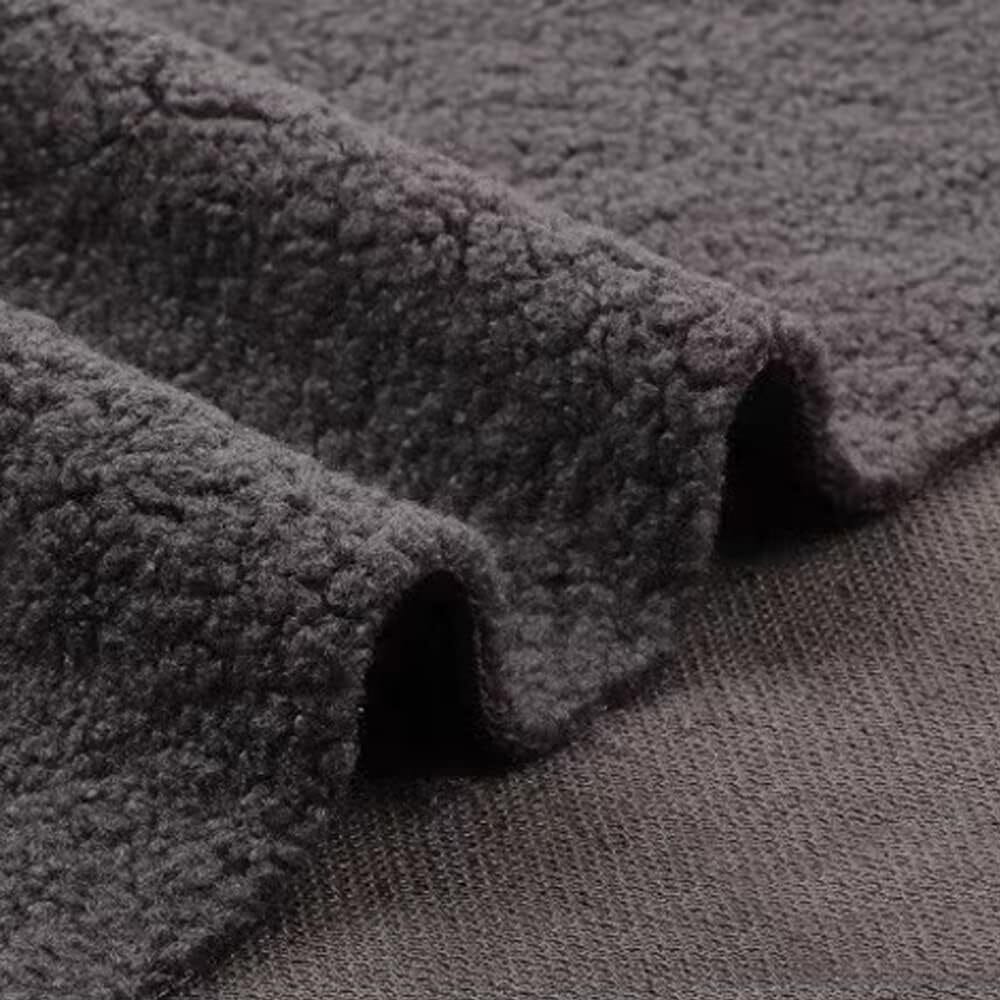
Sherpa (Body or Lining) → Soft, plush, and warm. Use it as a lining for comfort or as the main body for a trendy “teddy vest” look
Faux Leather Panels → Add contrast pockets in leather-look fabric for a designer twist that makes the vest boutique-ready.
👉 Want full-on cozy? You can even use sherpa as the main body fabric — just pair it with lighter lining to keep bulk manageable.
👉 Rule of Thumb: The more texture contrast you add, the more “designer” the finished piece feels. Don’t be afraid to mix — suede body with plaid pocket, or denim body with sherpa lining.
⚠️ Pro Tip: Sherpa fleece sheds when cut. Finish seams with a serger, zig-zag stitch, or binding to lock in durability.
✂️ Pattern Hacks Power Tips
Why stop at the basics when you can make this vest feel like runway-ready outerwear?
Zipper Upgrade: Swap a standard zipper for a bold pop of color or a metallic finish — little detail, big impact.
Patchwork Pockets: Add printed or plaid pockets for personality (and to use up fabric scraps).
Quilted Lining: Add batting before lining for an insulated vest that works like lightweight outerwear.
Contrast Binding: Use bias tape in a fun color around the armholes to give it a polished, professional edge.
Each hack turns this into something that looks custom-made — because it is.
✨ Want More Insider Adjustments?
If these hacks got your creativity flowing, you’ll love what’s inside Design Secrets. It’s where we break down advanced pattern adjustments, pro shortcuts, and designer-level tricks that turn “homemade” into high fashion.
💃 Style It Their Way
The Adventure Vest is the anchor piece of a toddler’s wardrobe. Once you’ve got it, building the outfit is easy. Pair it with other patterns from the SPS database for a complete, functional look:
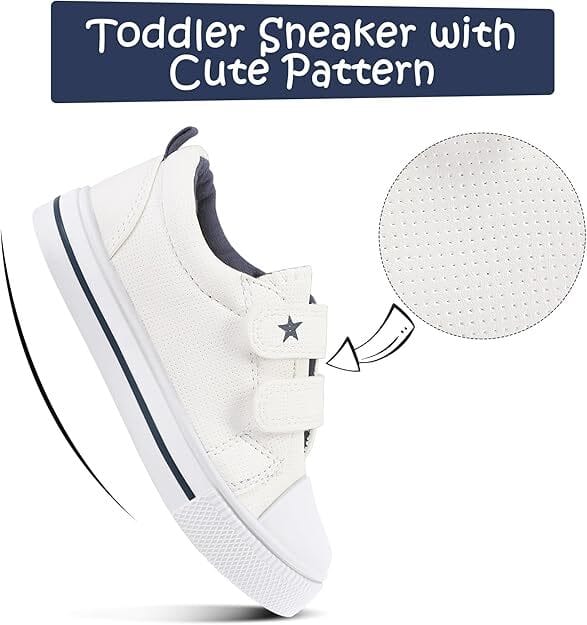
With the Toddler Lil’ Rugged Jean → The classic combo. Jeans balance the vest perfectly, creating a practical, stylish look for everyday wear. Add a pair of crisp white sneakers and the outfit instantly goes from playground-ready to photo-ready.
With the Toddler’s Jersey Tee → Perfect layering. A simple cotton jersey tee under the vest keeps things comfortable and makes it easy to transition between indoors and outdoors. Opt for solid colors to let the vest pop, or muted tones for a more coordinated palette.
Accessories to Elevate the Look:
🎒 Mini backpack (for stashing those playground treasures)
🧢 Knit beanie or baseball cap, depending on the season
👟 White or neutral sneakers (a timeless kids’ accessory — sharp, clean, and practical)
This isn’t just a vest. It’s the centerpiece of an outfit.
💌 A Thoughtful Note
Here’s the truth: sewing kids’ clothes is often about compromise. Patterns are too simple and boring, or too complicated to be practical. The Toddler’s Adventure Vest is different.
It gives you:
A project worth your skills (challenging enough to feel accomplished)
A garment that lasts (lined, structured, washable, durable)
A design that adapts (unisex, versatile, works with multiple outfits)
This isn’t a “throwaway sew.” It’s the kind of piece you’ll be proud to pull out of the closet week after week. A vest that stands up to play, weather, and endless washing — while still looking like you bought it from a designer kids’ boutique.
Keep stitching beautiful things,

💎 Design Secrets Course & Community
🚪 The Ultimate Upgrade for Serious Sewists
Your Exclusive Discount Entry to the Design Secrets Course & Community 🎟️
This invitation isn’t public. Save it, use it, or lose it — once it’s gone, it’s gone.
The public pricing is already live — $97 for the half-year and $197 for the full-year course.
But because you’re on our newsletter list, you’re part of the inner circle.
That means whenever you see these Backstage Pass links inside our emails, you still have VIP access to the full Design Secrets Course for just $97.
It’s your insider advantage — invisible to the public, but right in front of you.
👉 When you see the 🎟️ link, click it.
👉 That’s your cue. That’s your window. That’s your deal.
👉 Pay More with This Public Link (Half Year and Full Year Options)
|

🗺️ Sew-Along Roadmap: The Toddler’s & Child’s Adventure Vest
Built for play. Styled for wow.
The Adventure Vest is your answer to flimsy store-bought kids’ outerwear — a fully lined, structured, boutique-quality vest that combines style with durability.
It’s a design that bridges practicality and polish — comfortable enough for everyday adventures, sleek enough for the family photo album, and durable enough to hand down.
🎬 Video Tutorials Available:
Lesson 48: Installing the Zipper
Lesson 49: Bias Armhole Binding
Lesson 50: Collar Assembly & Finishing
Recommended Skill Level: Advanced
(ambitious for confident intermediates—this is a precision project with lining, zipper, and bias construction.)
🌟 Pattern Features & Fit
✅ Unisex, European-Inspired Silhouette: Slimmer through the body than typical U.S. patterns, with a refined, modern fit that layers neatly without bulk.
✅ Fully Lined Interior: Clean finish inside and out for comfort and durability.
✅ Functional Top Pockets: Usable front pockets add both design detail and practicality for little hands.
✅ Front Zipper Closure: Smooth, professional finish using a molded YKK #5 separating zipper.
✅ Bias-Bound Armholes: Adds both comfort and a polished look—no raw edges inside.
✅ Structured Collar Design: Gives the vest that sharp, boutique look while staying soft and wearable.
✅ Fabric Versatility: Works beautifully in fleece, sherpa, faux suede, or denim for different seasons and personalities.
This isn’t just a warm layer — it’s a small-scale design challenge with big creative payoff.
🧭 Project Planning
⏳ 2–3 hours prep
(printing pattern, cutting fabric and lining, pressing interfacing, preparing zipper + bias + pre-washing fabric per instructions)
⏳ 4–6 hours sewing
(divided into 4 structured sessions: outer shell → zipper → lining & collar → binding & finish)
📅 Suggested Workflow
📅 Day 1: Print pattern, prepare materials, pre-wash and dry fabrics
📅 Day 2: Construct outer shell + attach pockets
📅 Day 3: Install zipper + assemble lining and collar
📅 Day 4: Bind armholes, edge stitch, and final press
✅ Prerequisite Checklist Before You Begin
Printed correct size from SPS Database:
• Toddler 2T–4T
• Child 5–10Watched 🎬 Lessons 48–50 in the Vault
Reviewed “Fine Sewing: Bias Finishes”
Pre-washed, dried, and pressed fabrics per directions
Cut and fused interfacing for facings and collar
Matched zipper length to size (see below)
Bias strips pre-pressed
Serger threaded (optional but ideal for sherpa/fleece)
Walking foot + zipper foot ready
Tailor’s chalk, long pins, pressing cloth, and hump jumper nearby
✂️ Step 1: Fabric Selection
Body (Outer Shell) Fabrics:
Bonded sherpa, faux fur, faux suede, fleece fabric (double-sided), polyester, nylon, or wool.
Recommended Weight: 7–8 oz/yd²
Lining Fabrics:
Microfleece or flannel (5–7 oz/yd², 100% polyester).
Contrast Fabrics (Woven):
Gabardine, twill, or midweight denim (6–8 oz/yd²) for accent details or yokes.
Fabric Direction & Handling Notes:
Sherpa, fleece, and faux suede have nap; maintain a consistent downward direction when cutting.
Avoid stretching napped fabrics during sewing; pin in shorter intervals.
Fleece and sherpa have a slight natural give — use a walking foot for consistent seam feeding.
Pre-wash fabric with mild soap.
Tumble dry on low with a dryer sheet.
Press well to remove all creases before cutting.
Notions:
YKK #5 molded plastic separating zipper
5 = 16″ 6 = 16″ 7 = 17″ 8 = 19″ 10 = 21″Polyester thread (T24 or T27)
Fusible interfacing (medium weight)
Walking foot and zipper foot
Machine Needle: Universal or Sharp 90/14–100/16
Stitch Length: 2.5–3 mm straight; 2.5–3 mm zigzag for staystitching.
📏 Step 2: Know Your Sizes
Two ranges included:
Toddler: 2T, 3T, 4T
Child: 5, 6, 7, 8, 10
✅ European-inspired fit: Slimmer through torso and armhole for a refined silhouette.
✅ Designed to layer comfortably over a tee or light sweatshirt.
✅ Slightly extended back hem for active movement.
✅ Unisex proportions—works perfectly for boys or girls.
Use the Size Tracker PDF to record body measurements before cutting.
✂️ Step 3: Cut All Pieces
Cut all main, lining, and contrast pieces per selected size.
Pay close attention to nap direction on sherpa/fleece.
Fuse interfacing to collar and zipper facings before sewing.
Label all pieces clearly (front, back, collar, lining).
🧵 Step 4: Construction Overview
Each session is designed for 60–90 minutes to balance focus and flow.
🧵 Session 1 – Outer Shell & Pockets
Estimated Time: 90 min
Fuse interfacing to facings and collar – 10 min
Assemble patch/flap pockets and topstitch – 25 min
Attach pockets to front panels – 10 min
Join front and back at shoulders – 10 min
Sew side seams – 15 min
Press open with a pressing cloth – 10 min
Optional: Serge all seam allowances – 10 min
✂️ Total: ≈ 90 min
🧵 Session 2 – Zipper Installation
Estimated Time: 60–75 min
Follow 🎬 Lesson 48 – Installing the Zipper
Mark zipper placement lines – 5 min
Interface zipper area – 5 min
Align separating zipper, right sides together – 10 min
Stitch zipper, then topstitch for durability – 25 min
Test zipper for smooth operation – 5 min
✂️ Total: ≈ 75 min
🧵 Session 3 – Lining & Collar Assembly
Estimated Time: 90 min
Follow 🎬 Lesson 50 – Collar Assembly & Finishing
Join lining shoulders and sides – 10 min
Pin collar between neckline layers – 15 min
Stitch collar seam and trim seam allowance – 10 min
Attach lining to outer vest, aligning with zipper and collar edges – 20 min
Under-stitch neckline to secure – 10 min
Turn vest right side out – 5 min
Press lightly – 5 min
✂️ Total: ≈ 90 min
🧵 Session 4 – Armhole Binding & Final Details
Estimated Time: 75 min
Follow 🎬 Lesson 49 – Bias Armhole Binding
Cut and press bias binding – 5 min
Pin evenly around armhole – 10 min
Stitch in place, easing around curves – 15 min
Fold to inside and topstitch – 15 min
Edge-stitch zipper and collar for structure – 10 min
Final press + inspection – 5 min
✂️ Total: ≈ 75 min
🚫 Step 5: Finishing Notes & Styling Ideas
✅ Press with a cloth and low heat, especially on sherpa and faux suede.
✅ Add a custom label or hang loop before final lining closure.
✅ Topstitch all seams for durability and professional detail.
✅ Optional: Contrast binding or zipper tape for a designer accent.
🎒 Style It:
Pair with jeans, joggers, or corduroys for a complete, play-to-photo outfit.
Layer over the Toddler Jersey Tee or Child’s Long-Sleeve Top from the SPS Vault.
For the holidays, try a suede outer + plaid flannel lining combo.
✨ The Adventure Vest is the kind of pattern that grows with your skill.
It challenges your precision, rewards your patience, and delivers results that feel couture — no matter the size range.
As always, your SPS team is here to help if you need guidance. Post questions inside your Vault or connect through the Companion Club community anytime.
More Brewing


More from Sewing Pattern Secrets
We offer a database of over 160 sewing patterns, instructions, 50+ supporting sewing tutorials, and 5 ebooks. Learn more.
Design Secrets Offer: See the Offer Here
Design Secrets Log in: Log Into the Paid Course and Community Here
Existing Members: Access your Paid Library Here
Existing Members: Sign into your Five Free Pattern Access
Sign up for Access to the Five Free Pattern Mini Sampler Site Here
How to Print Our Patterns Blog Article
Want to see more about what is INSIDE the database? Peek INSIDE NOW
Terms & Conditions/ Affiliate Disclosure:
This email is being sent to you because you either opted in to receive updates, resources, or special offers from us, or previously interacted with our website or digital properties. We value transparency and only send messages to subscribers who have requested or expressed interest in receiving content related to https://sewingpatternsecrets.com
We do not engage in unsolicited email practices. If you no longer wish to hear from us, you can unsubscribe at any time using the link below. No hard feelings. All information provided herein is for educational and informational purposes only. Results mentioned are not typical and will vary based on individual effort, experience, and application. We do not make any guarantees regarding financial outcomes or business performance.
This email may contain affiliate links. That means if you purchase through one of our links, we may earn a small commission—at no extra cost to you. It helps support the free content we share. By continuing to engage with our emails, you agree to our full terms and privacy policy available on our website.Thank you for being part of our community.
Reply